Setting up Gmail for email on Android

This guide walks you through setting up an email account in the Gmail app on your Android device.
You should have already configured a mailbox within a Krystal cPanel account. To carry out the instructions in this article you may need the Manual Settings for your mailbox.
There are now two options for setting up your email client. Option 1 is preferred, but does have some prerequisites.
Option 1 - Use mail.yourdomain for inbound and outbound mail server (IMAP Hostname and SMTP Hostname) e.g. if your domain is example.co.uk you would use mail.example.co.uk
Prerequisites
Your domain’s A record must be pointing to your Krystal hosting server. If your domain is registered with Krystal and you host your website here then this is likely the case.
You must have SSL enabled for the domain. Once your domain is correctly pointing to Krystal a free Let's Encrypt™ certificate will be issued automatically.
If you meet these requirements then you can use the format mail.yourdomain for the inbound (IMAP Hostname) and outbound (SMTP Hostname) mail servers in the instructions below e.g. if your domain is example.co.uk then you would use mail.example.co.uk as the inbound and outbound mail server names.
This option has the benefit of meaning that should you change hosting servers at any point you won’t need to re-configure any email clients. Once the DNS has updated for your new server A record the clients will continue to be able to send and receive email.
Option 2 - use the server hostname for inbound and outbound mail server
This option has no prerequisites. However, you should be aware that if you use this method, and at a later date change hosting servers you will need to re-configure any email clients.
If you are a reseller this would also impact all your client accounts.
If this is your first time using the Gmail app, and haven't previously added any email accounts then please open Gmail and start from Step 4.
If you are already using Gmail with other accounts follow these steps to add a new account.
- If you're already using Gmail with other accounts start here. Open the Gmail app and click the hamburger icon to open the sidebar

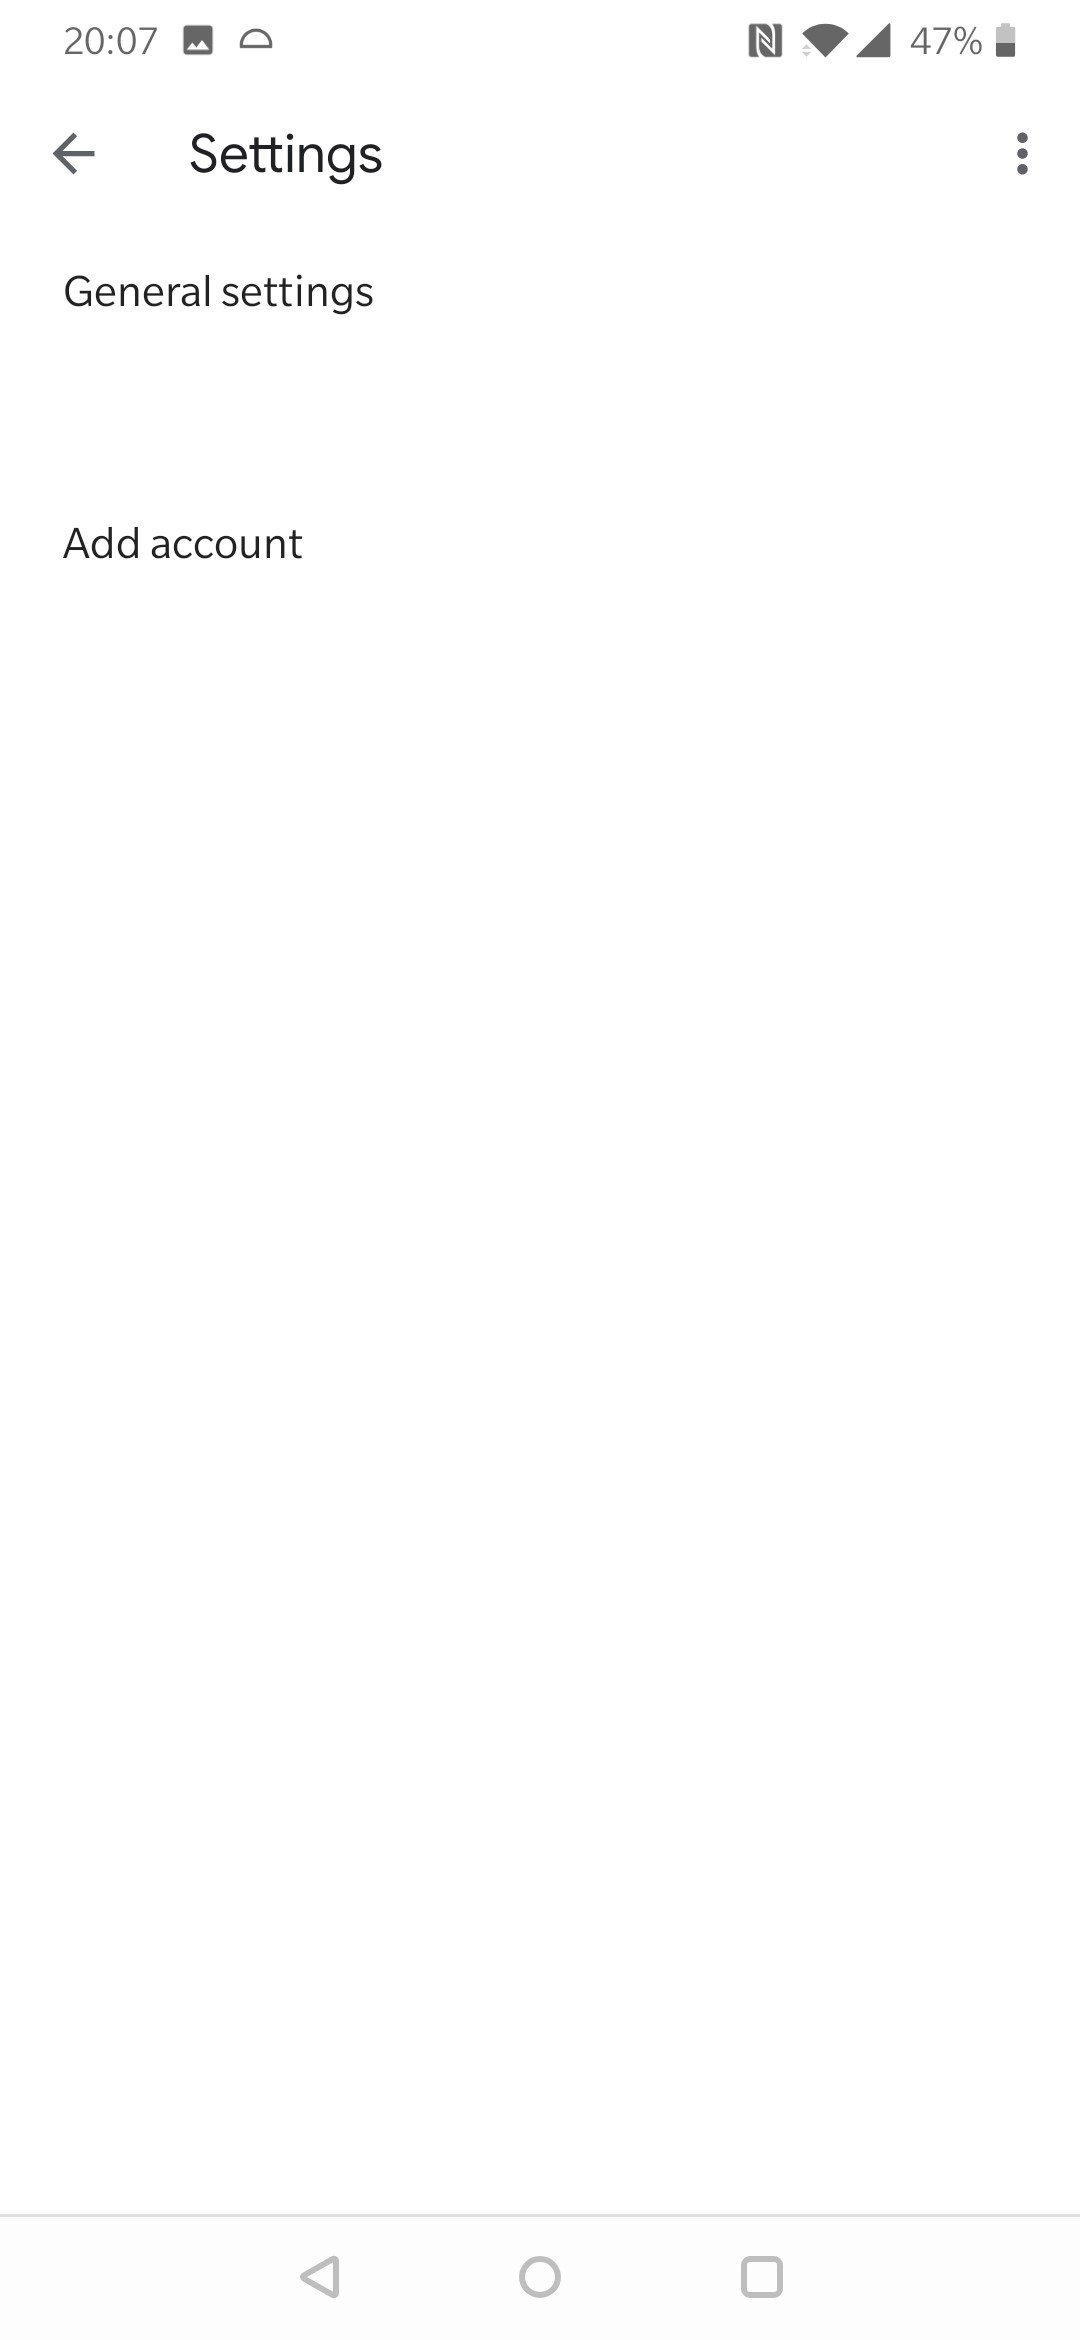
- Scroll to the bottom and click the gear icon

- Then click Add Account
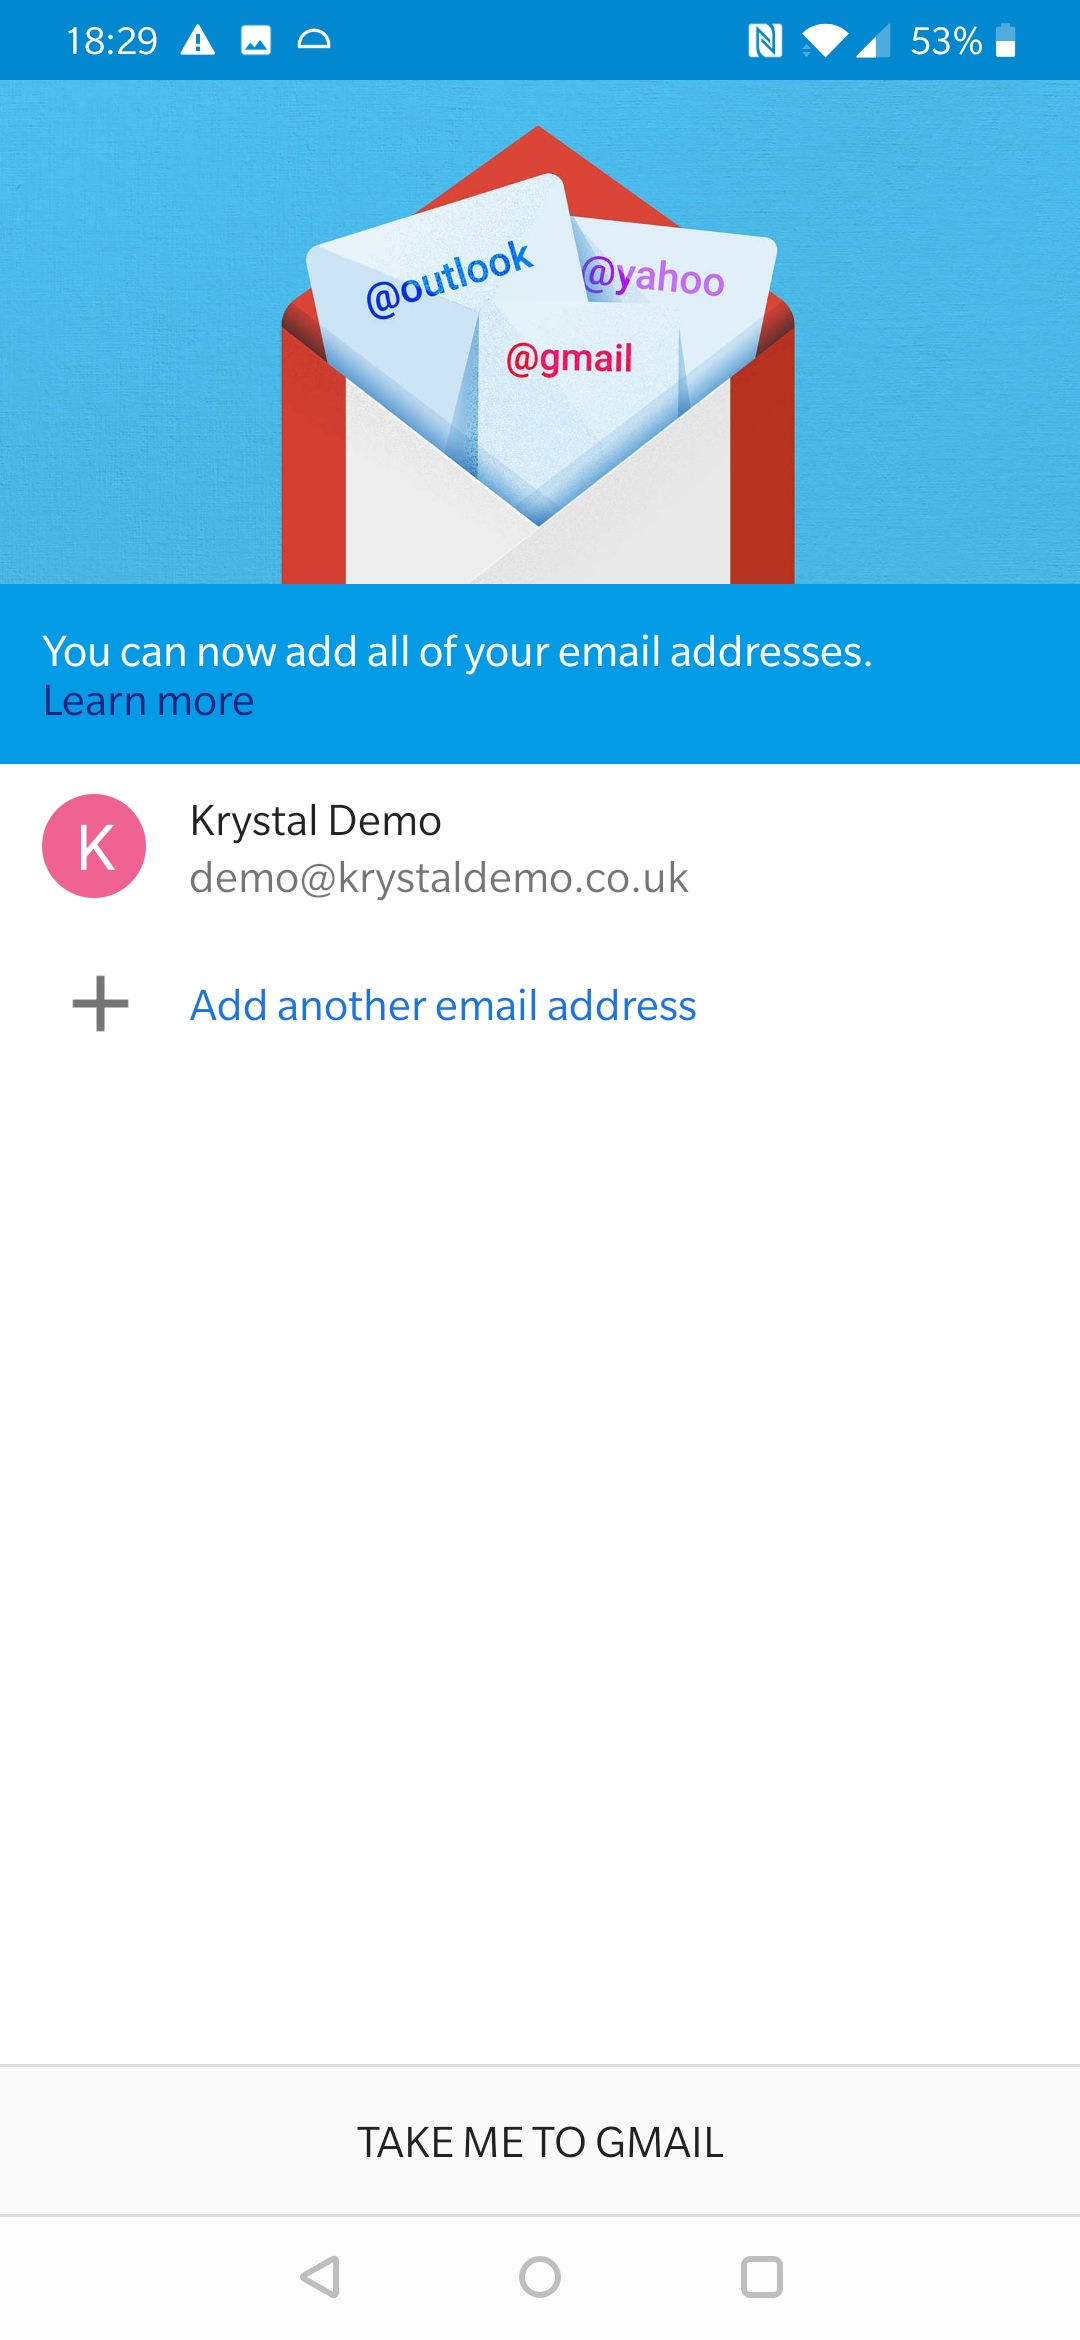
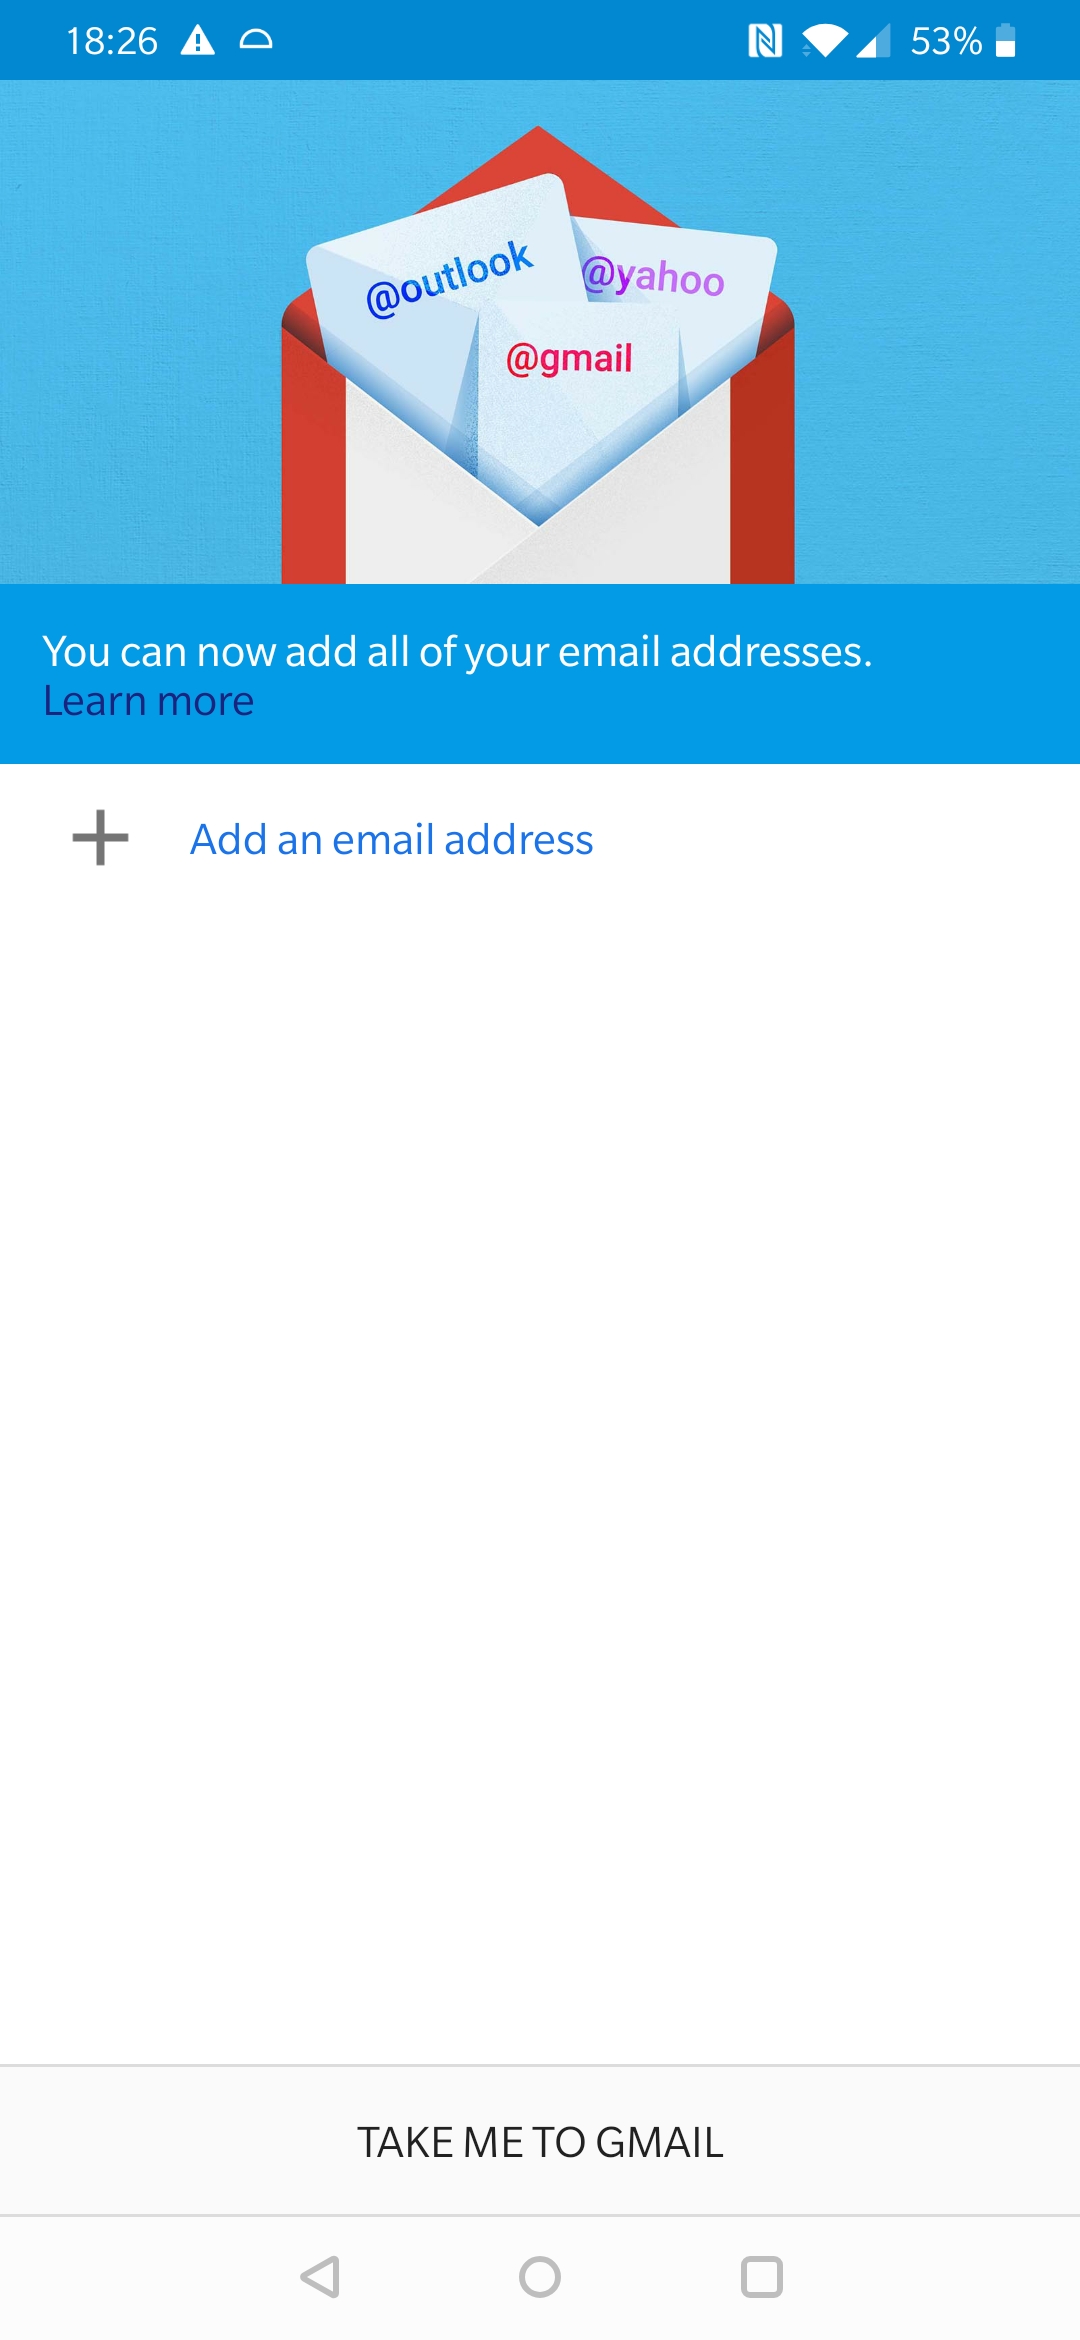
- From here on the instructions are the same whether this is your first account or an additional account. Click Add an email address+
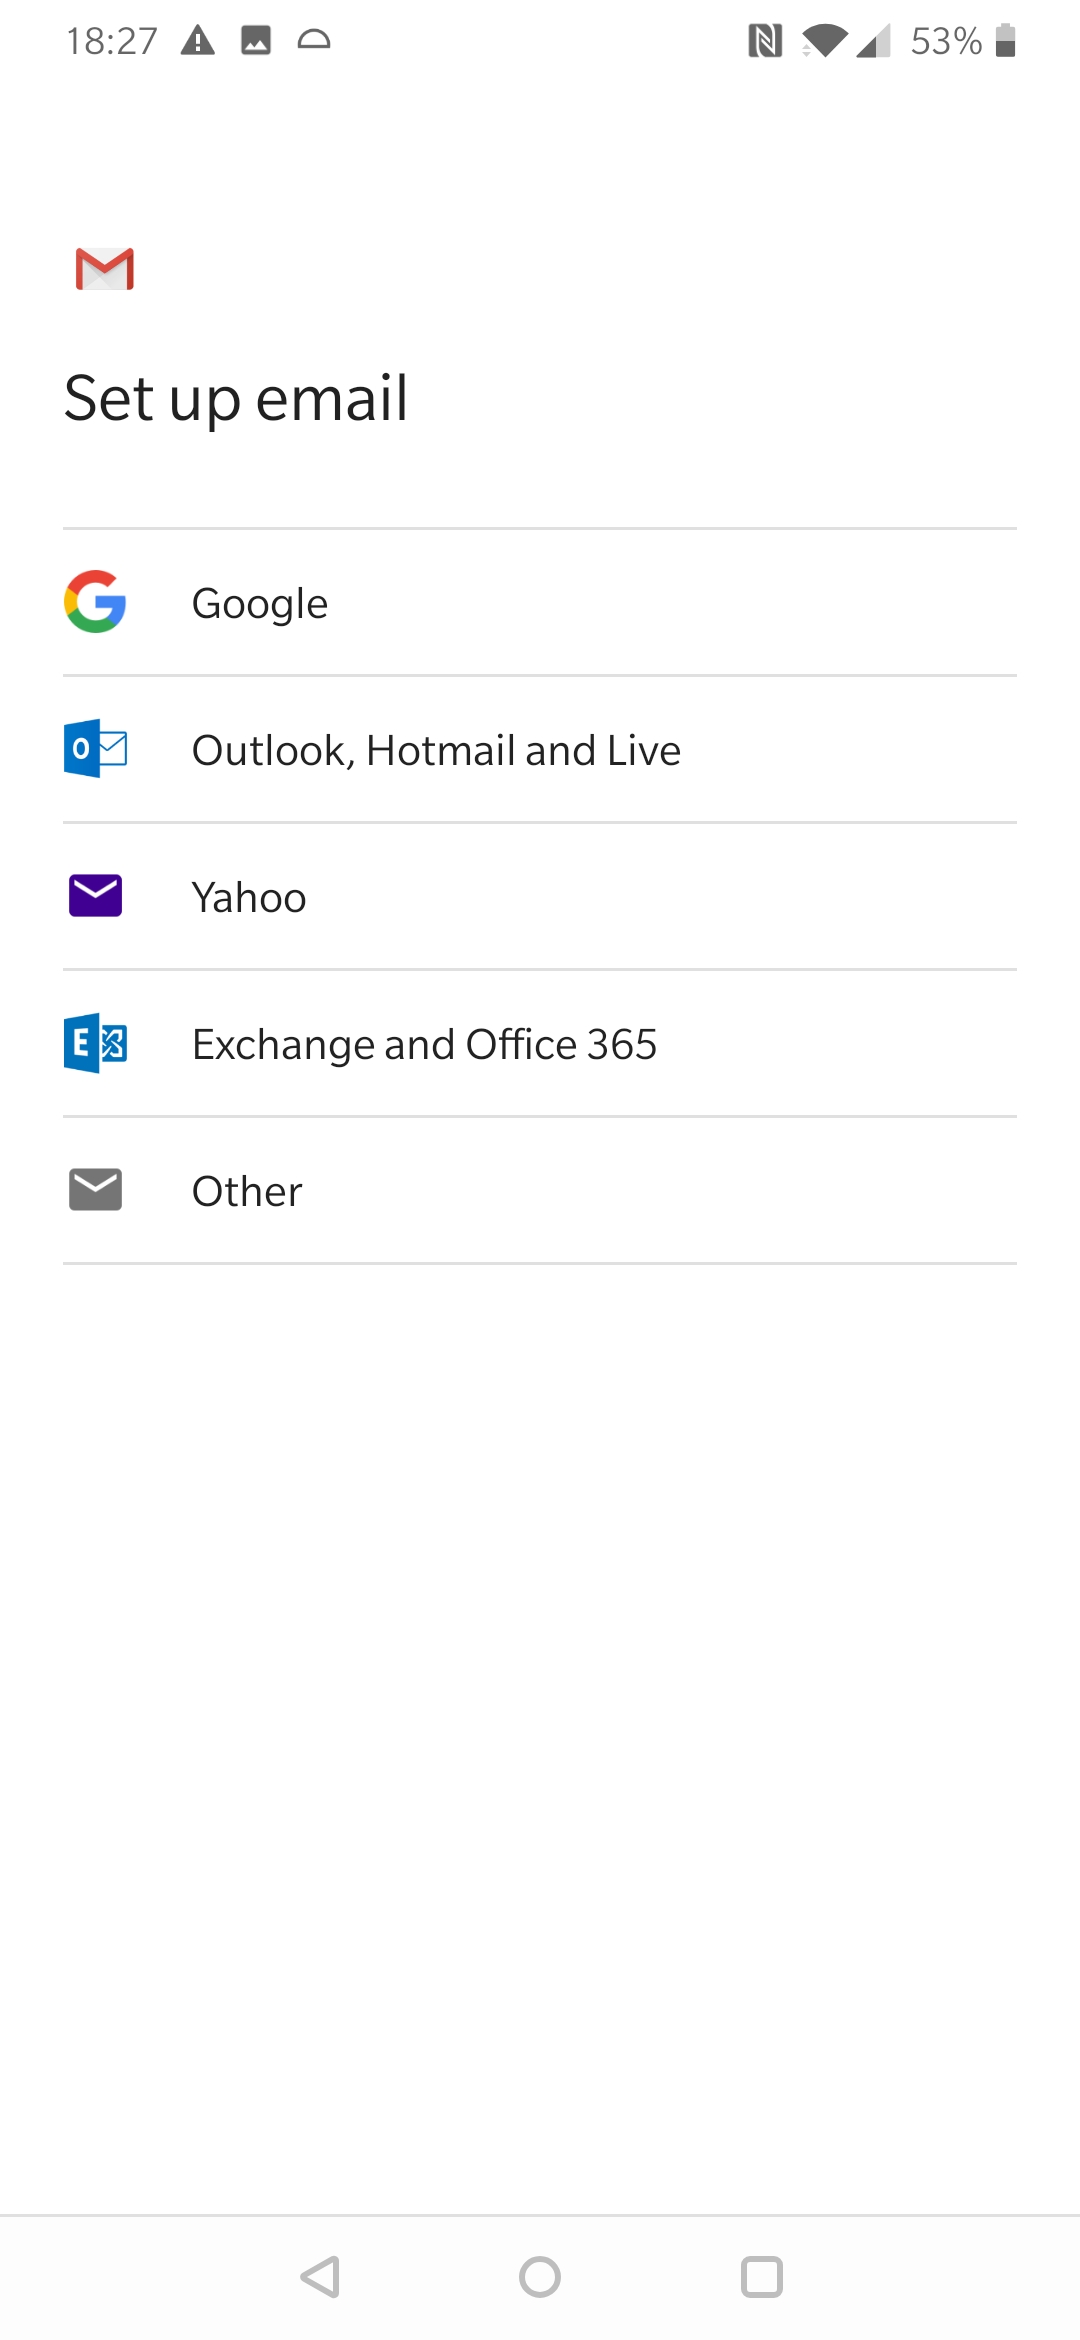
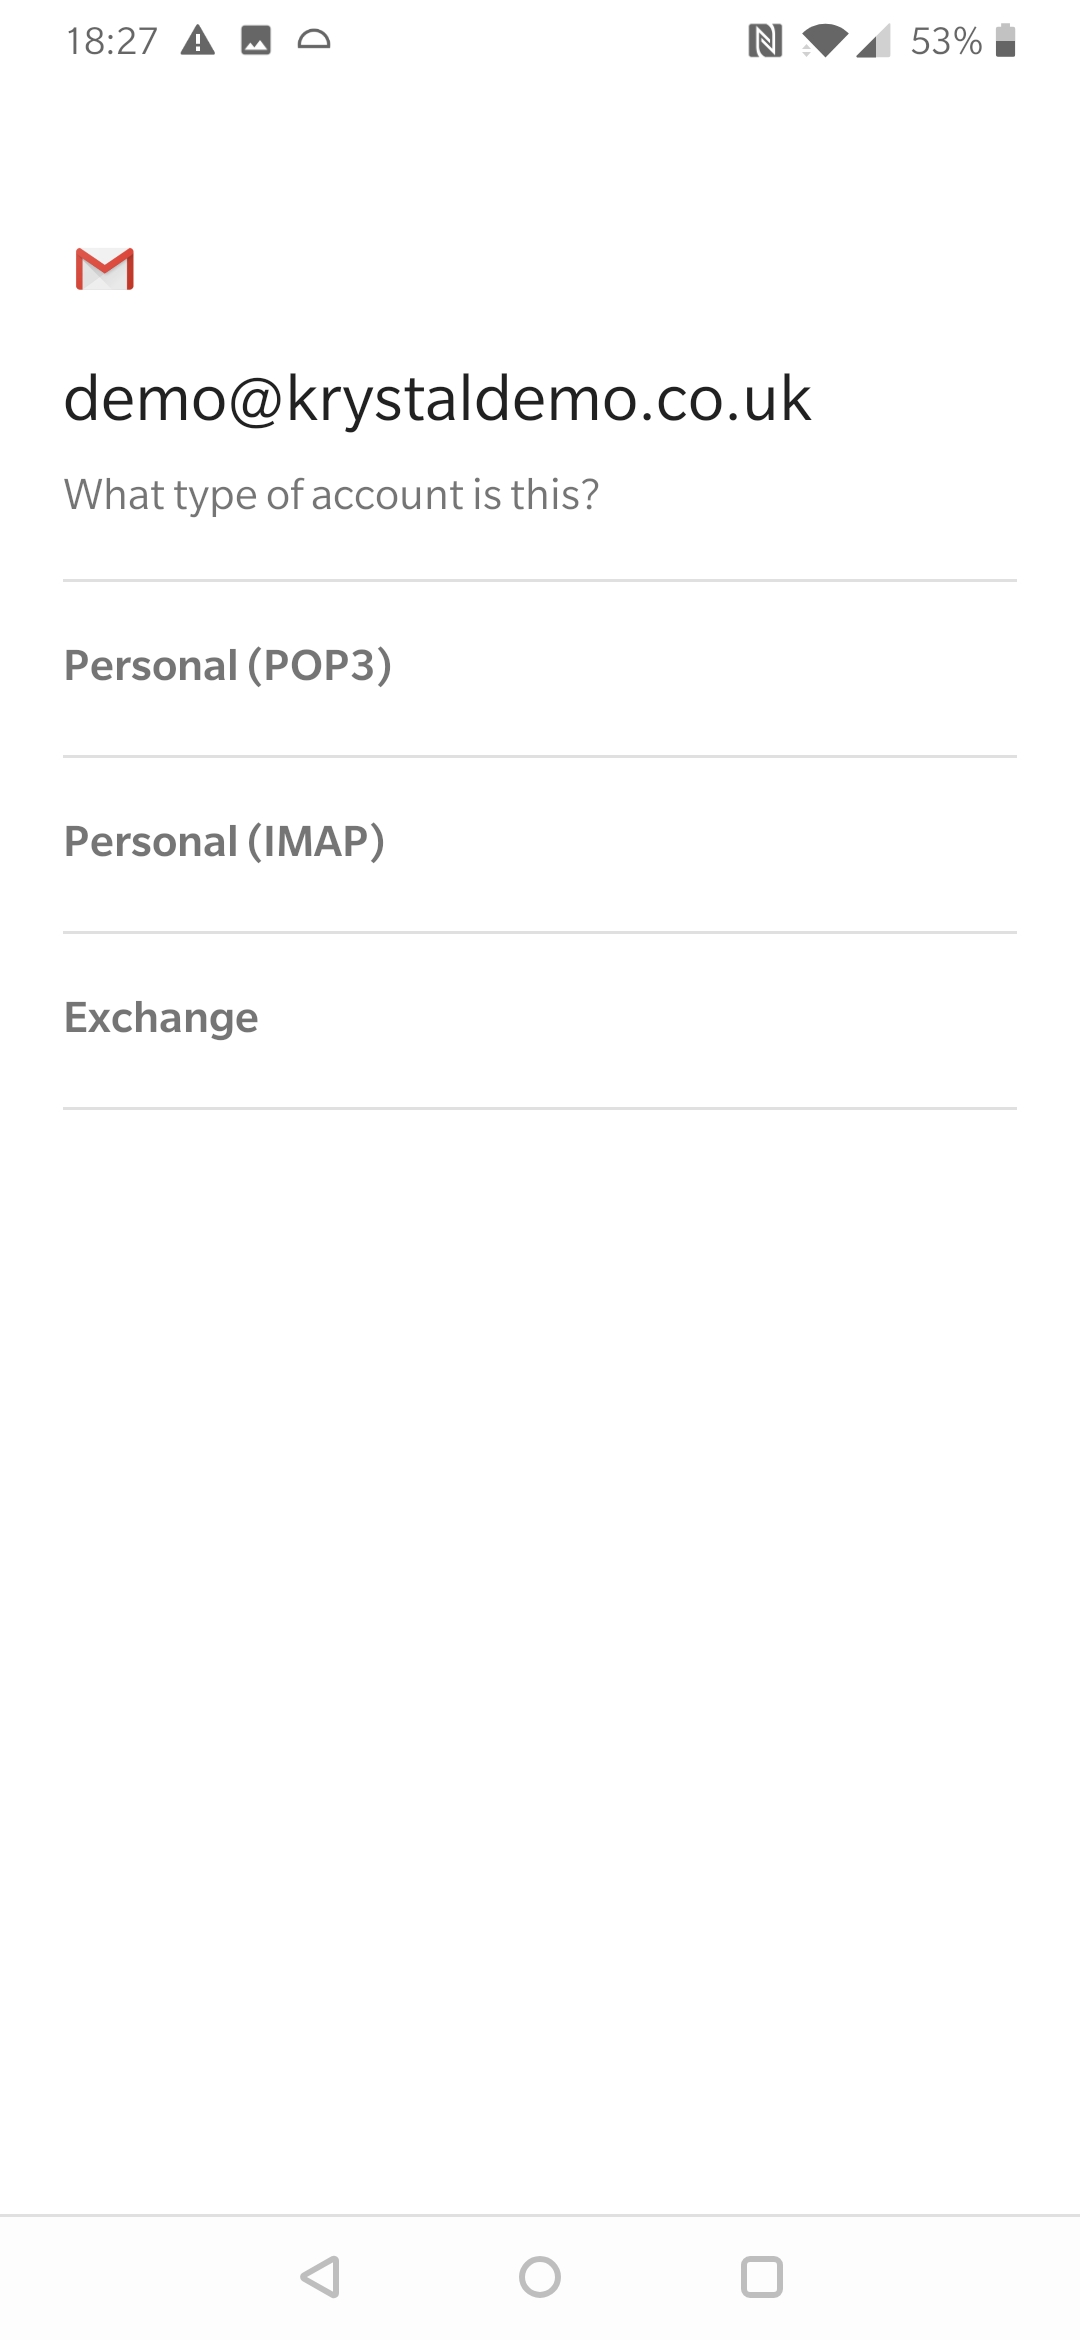
- Select Other
- Type your email address

- Select Personal (IMAP)
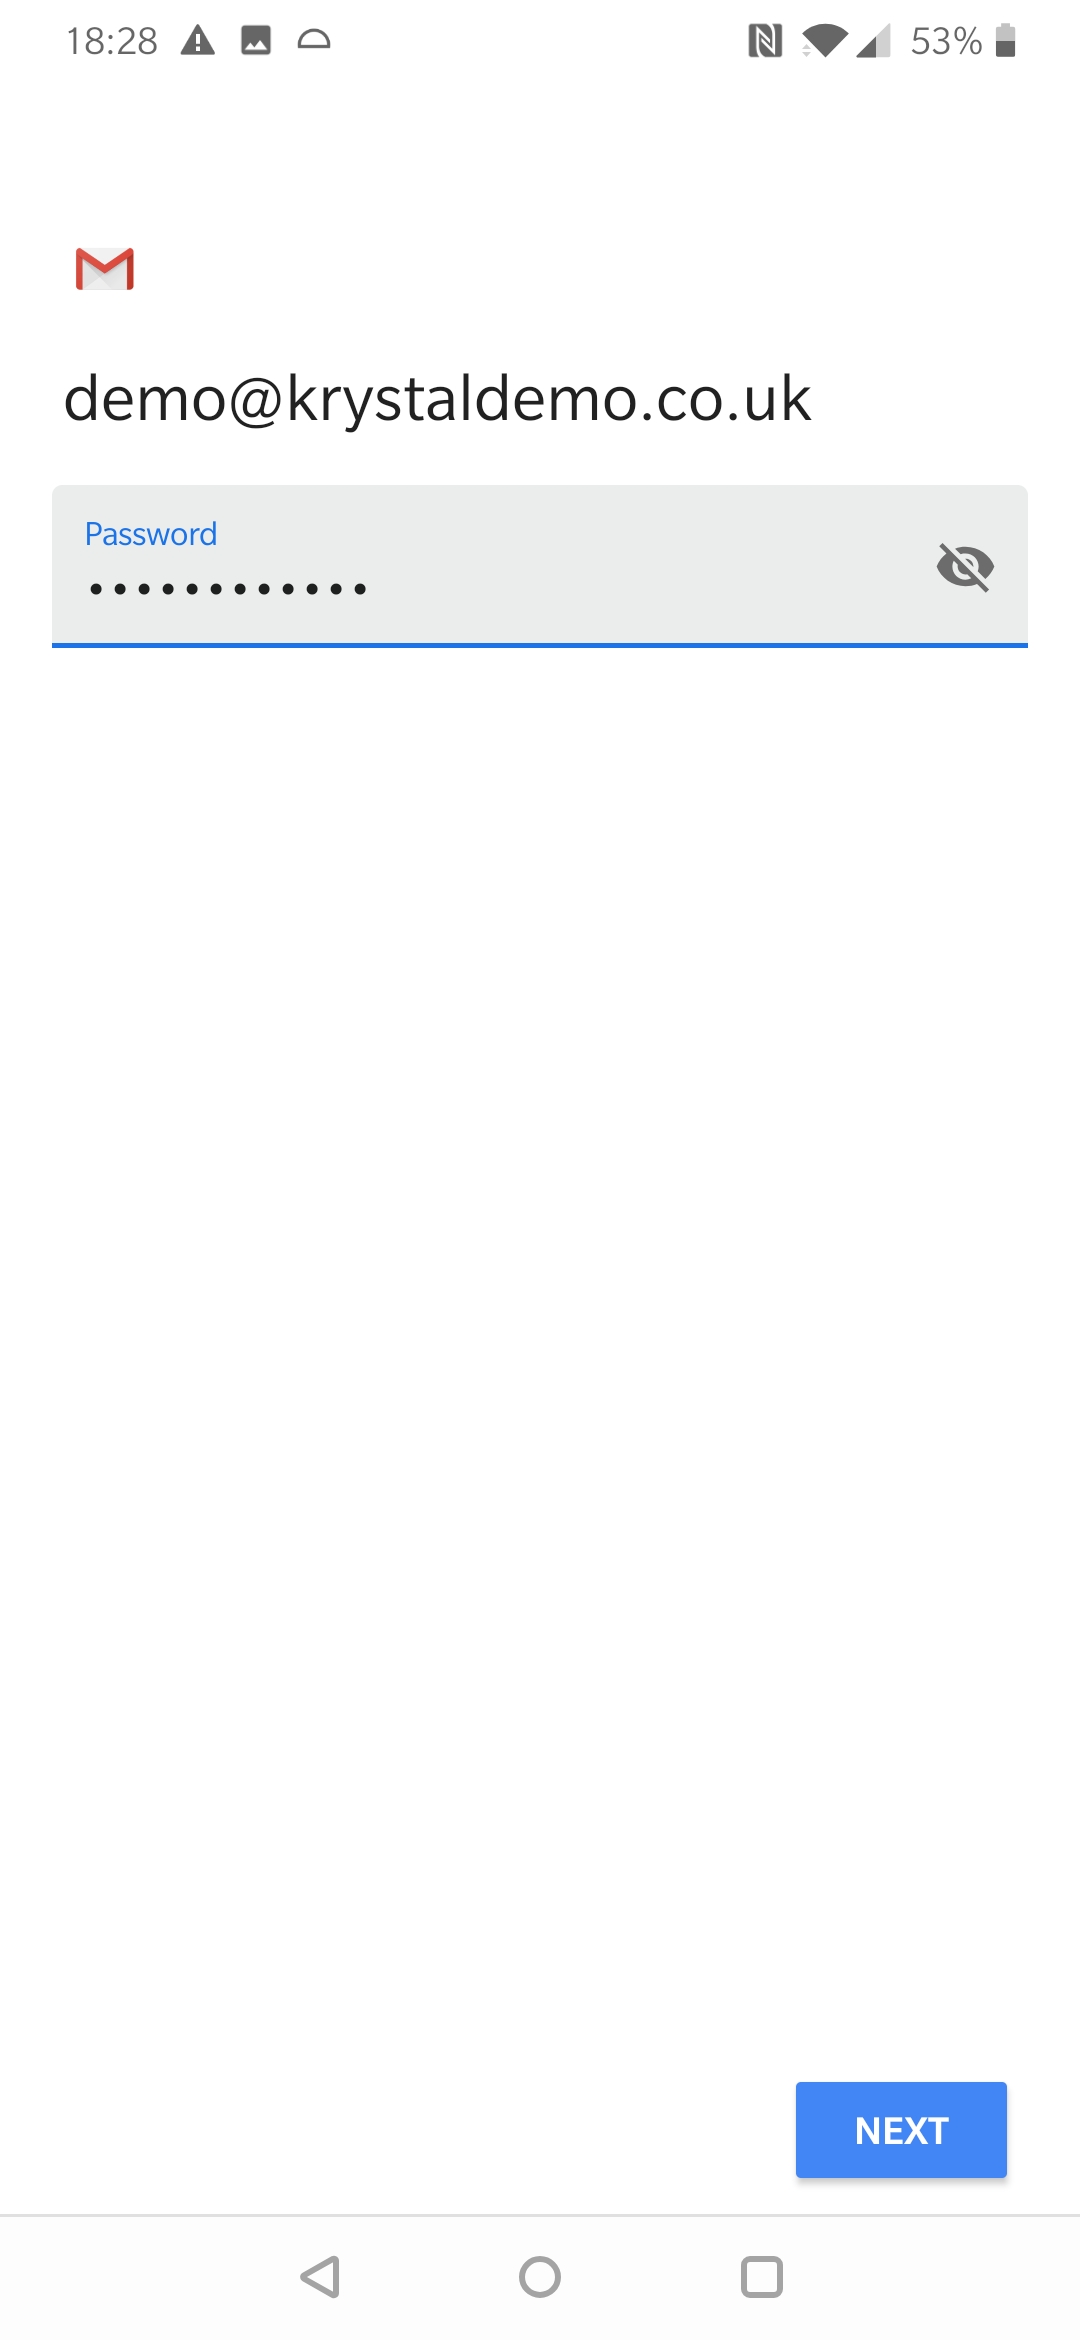
- Enter the new email accounts password
- Check the incoming server name - it should either be mail.your.domain (e.g. if your domain is example.co.uk then mail.example.co.uk) or your home server name as mentioned in the note at the beginning of this guide.
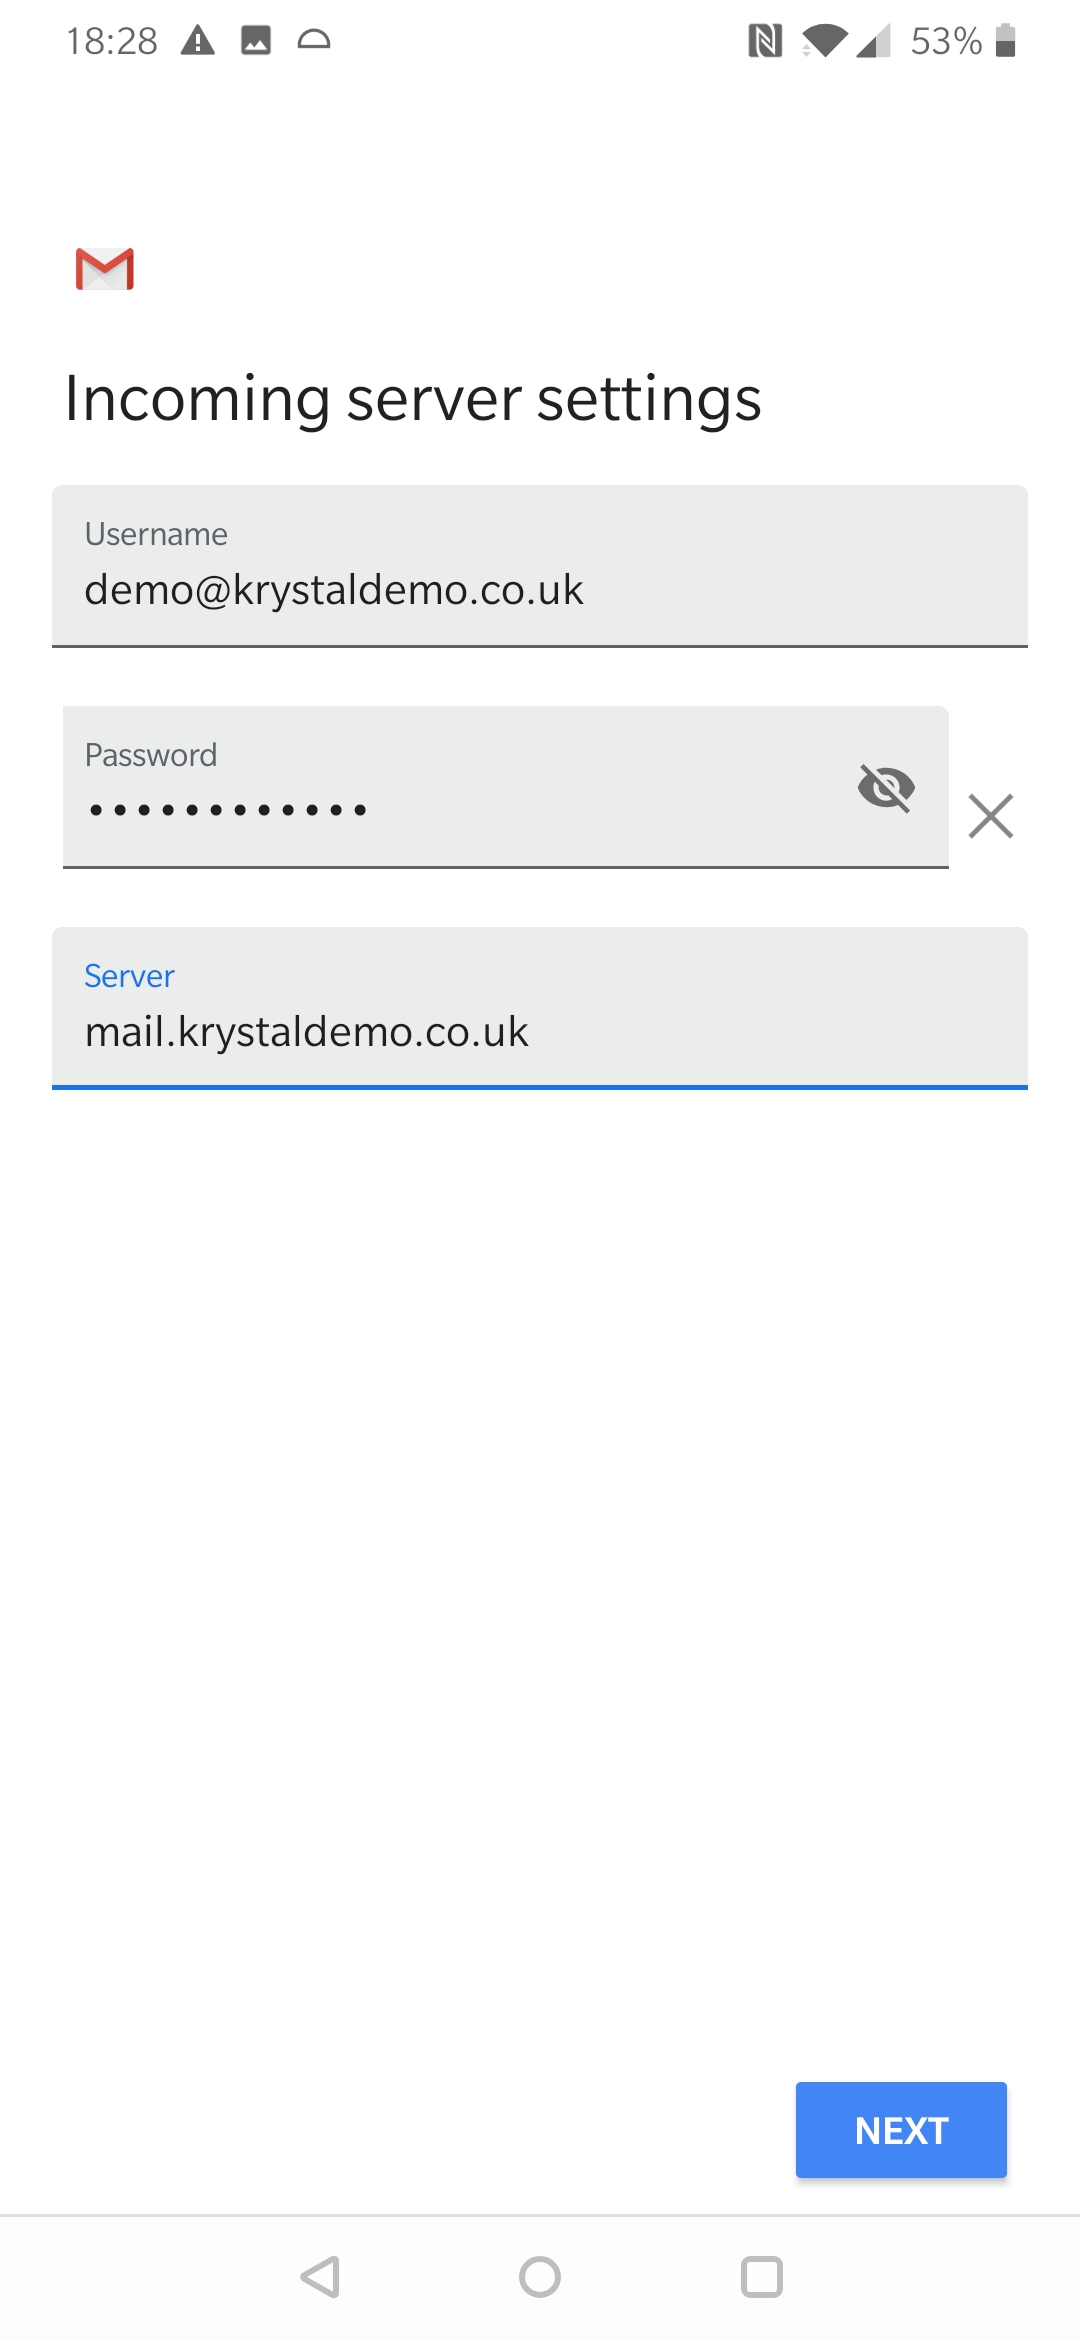
- And the same for the outgoing mail server

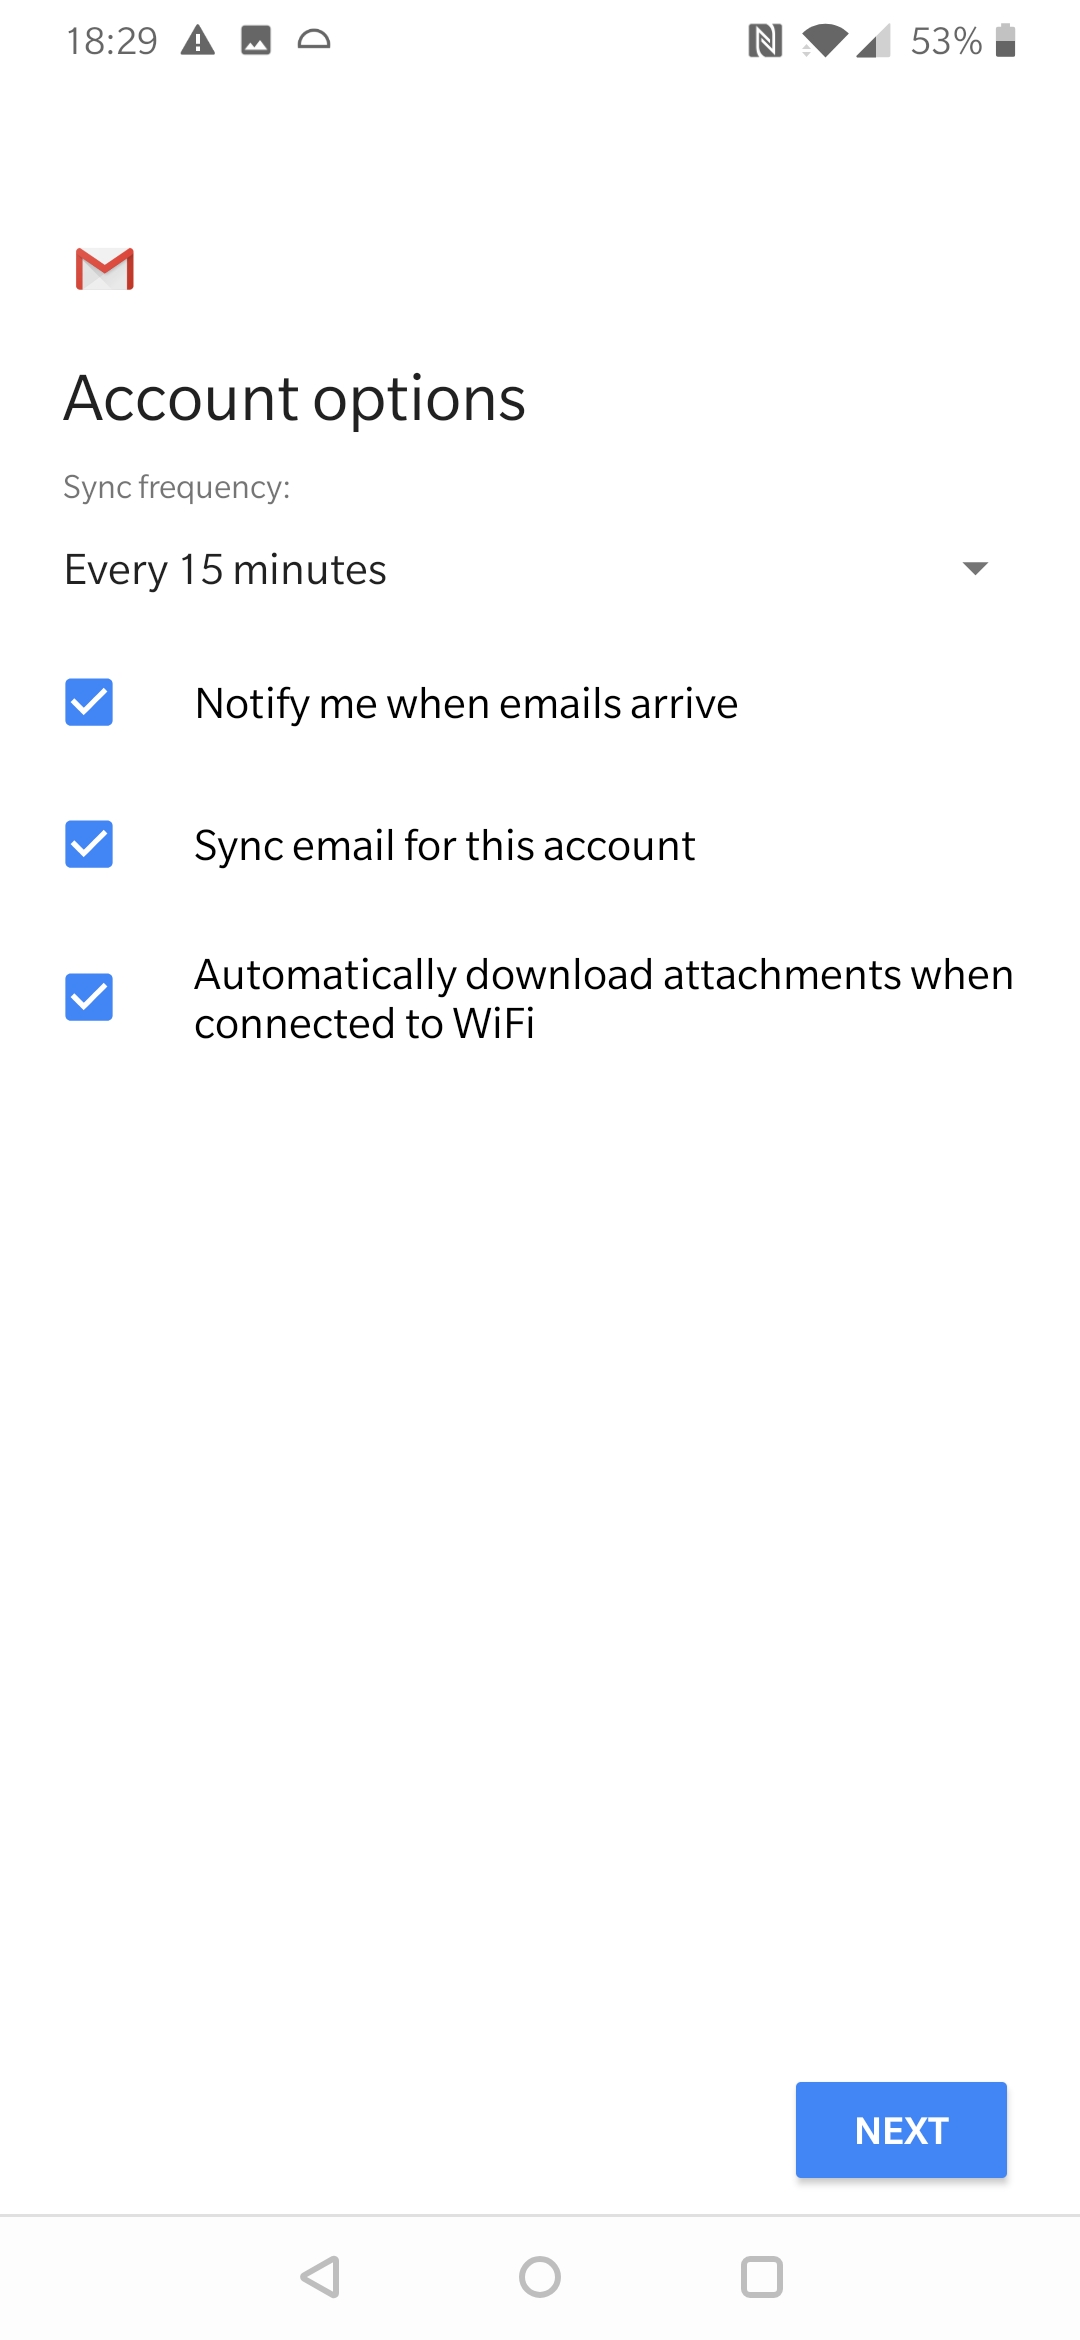
- Choose your synchronisation frequency and other options
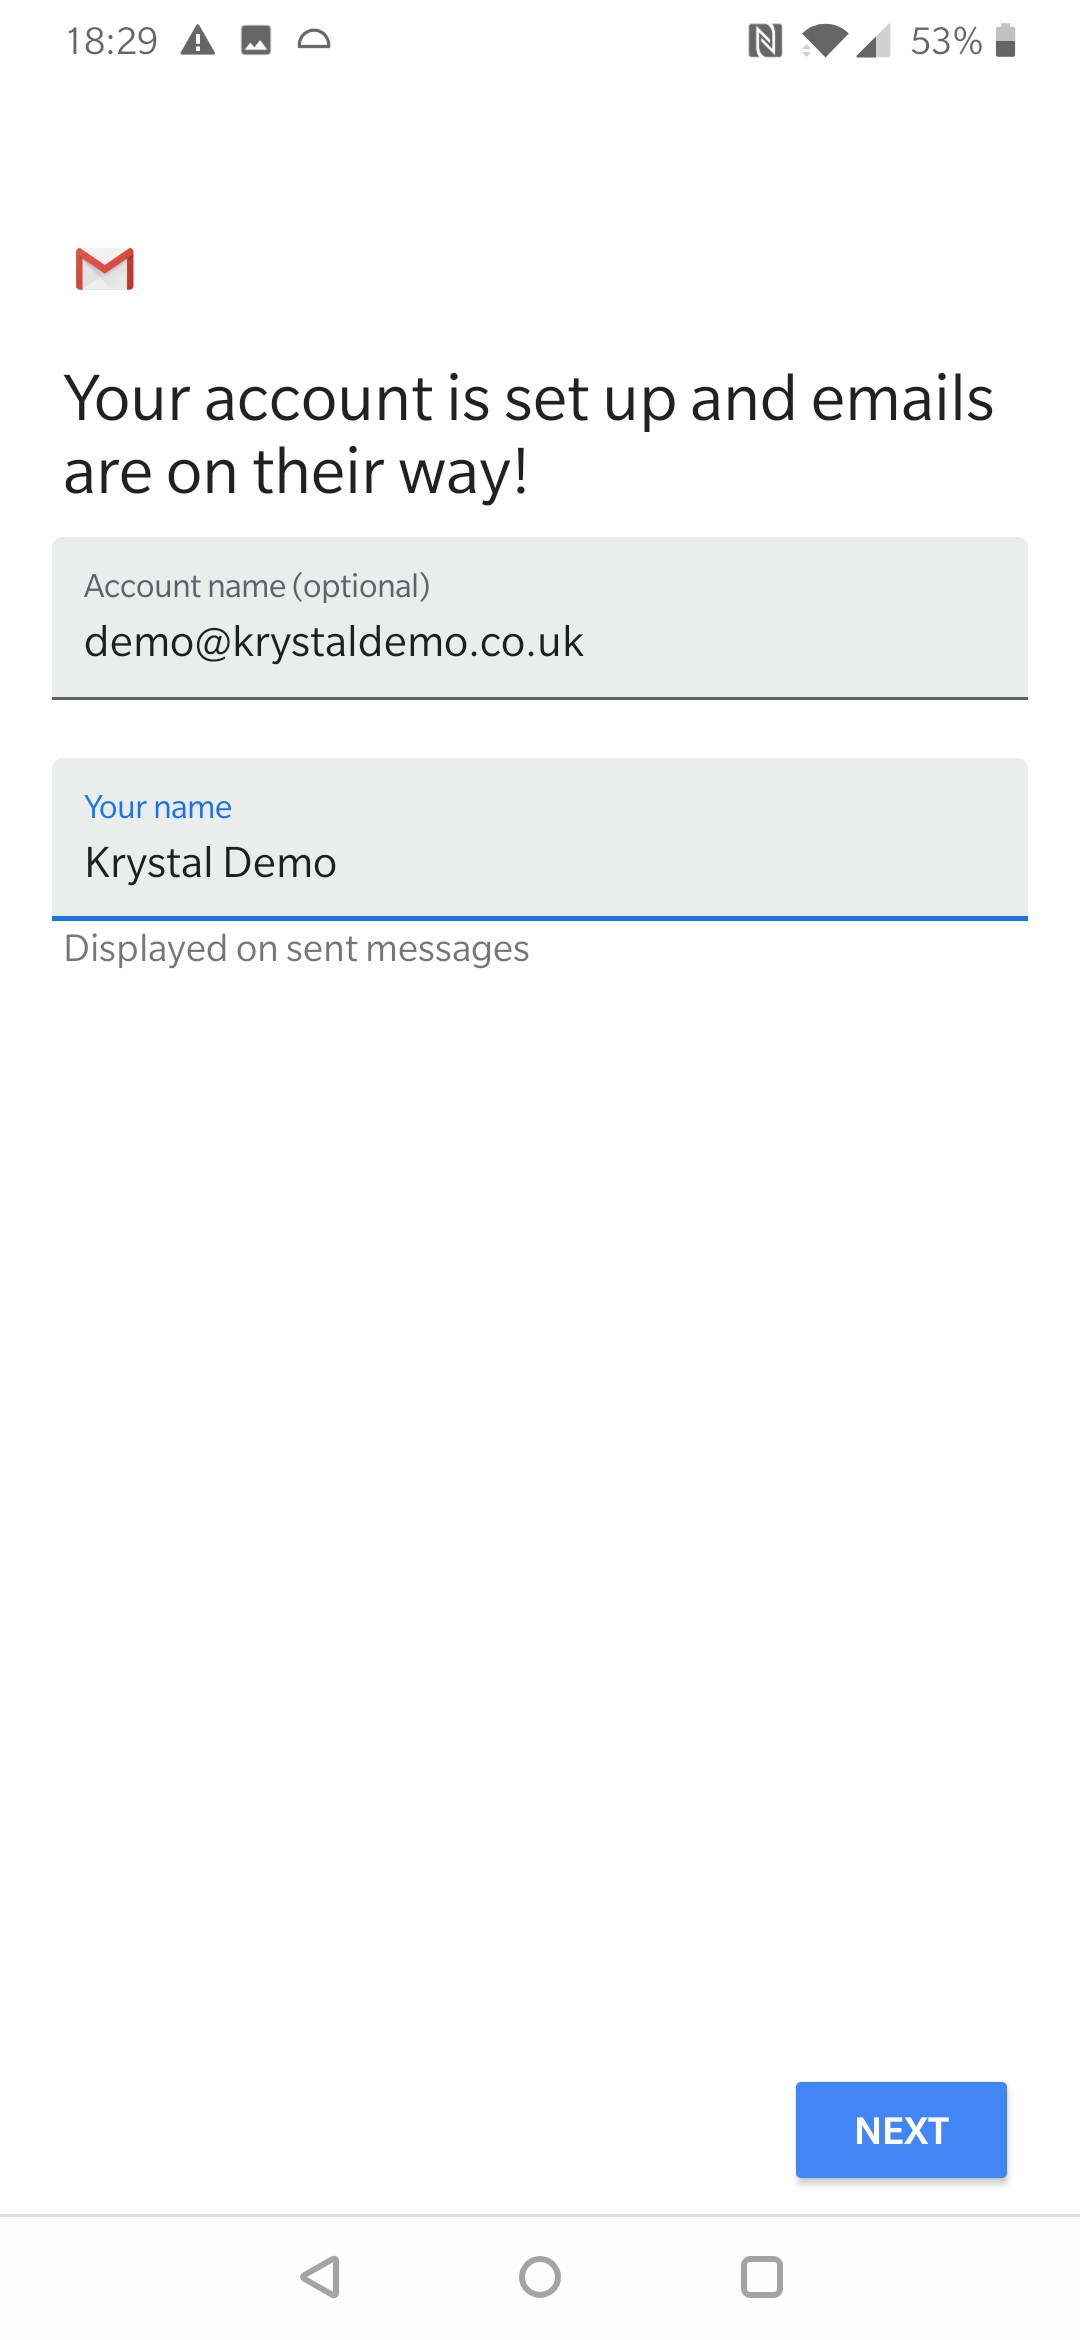
- Check and adjust the Your Name details as appropriate
- Your account is added and ready to use - click Take me to Gmail.