There are now two options for setting up your email client. Option 1 is preferred, but does have some prerequisites.
Option 1 - Use mail.yourdomain for incoming and outgoing mail server (IMAP Hostname and SMTP Hostname) e.g. if your domain is example.co.uk you would use mail.example.co.uk
Prerequisites
Your domain’s A record must be pointing to your Krystal hosting server. If your domain is registered with Krystal and you host your website here then this is likely the case.
You must have SSL enabled for the domain. Once your domain is correctly pointing to Krystal a free Let's Encrypt™ certificate will be issued automatically.
If you meet these requirements then you can use the format mail.yourdomain for the inbound (IMAP Hostname) and outbound (SMTP Hostname) mail servers in the instructions below e.g. if your domain is example.co.uk then you would use mail.example.co.uk as the inbound and outbound mail server names.
This option has the benefit of meaning that should you change hosting servers at any point you won’t need to re-configure any email clients. Once the DNS has updated for your new server A record the clients will continue to be able to send and receive email.
Option 2 - use the server hostname forincoming and outgoingmail server
This option has no prerequisites. However, you should be aware that if you use this method, and at a later date change hosting servers you will need to re-configure any email clients.
If you are a reseller this would also impact all your client accounts.
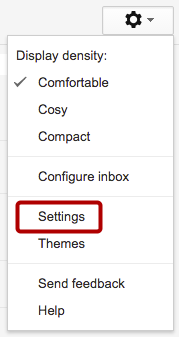
Log into your GMail account, and click on the settings button at the top right (The little Cog icon), click Settings from the drop-down menu.
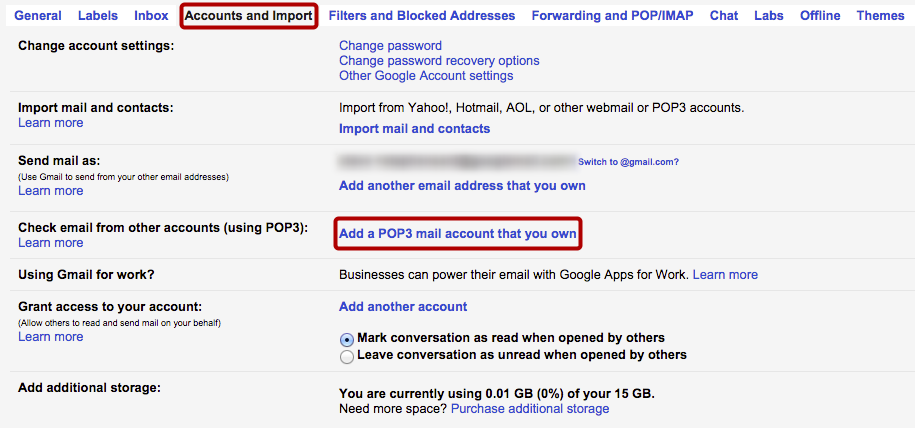
Click the Accounts and Import tab and from the settings that appear, click on Add a POP3 mail account that you own.
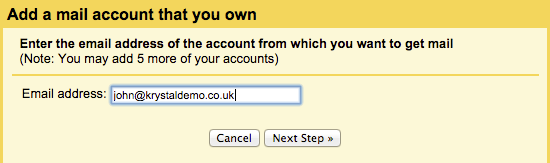
Enter the full email address of the mailbox for which you wish to collect mail.
Enter the server connection details.Username: Enter the full email address of the mailbox from which you wish to collect mail and will differ from the example above. Password: Enter the mailbox password, as previously configured via cPanel. POP Server: This should be either mail.yourdomain or your Home Server name. Port: Set this to Port 995 Leave a copy of retrieved message on the server: If you connect directly to your Krystal mailbox using other email clients, then you may want to tick this box. If you only use your GMail account to connect directly to your Krystal mailbox, and you configure your other devices (phones etc) to connect to your GMail account, then you should leave this unticked. Always use a secure connection (SSL) when retrieving mail: This must be ticked. Label incoming messages: This is up to you - you can apply any label you wish or none. Archive incoming messages: This will cause any messages that GMail collects from your Krystal mailbox to go straight into the All Mail folder in Gmail and skip the inbox completely.
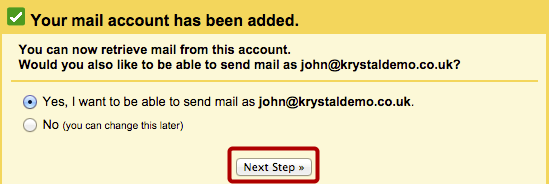
You can now also add the ability to send email from your GMail account, but using your Krystal mailbox address as your identity. To proceed, click Next Step.
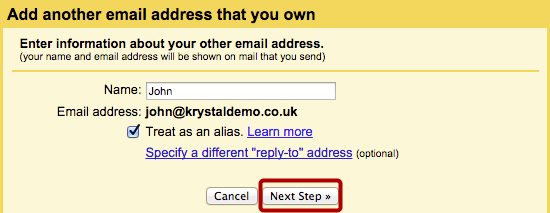
We will be setting up your Krystal mailbox as an alias for your GMail address. For more information on how this will work please read this Google article (external link opens in a new window).Name: Enter your display name here - this is just how you wish your name to be shown to the recipients of your messages. Treat as an alias: Tick this box (it is ticked by default). Click Next Step.
Now we must configure the outgoing SMTP server settings.SMTP Server: This must be the Home Server name that hosts your cPanel account, and may differ from the example above. Port: 587 Username: Enter the full email address of the mailbox from which you wish to collect mail and will differ from the example above. Password: Enter the mailbox password, as previously configured via cPanel. Secured connection using TLS: Choose this option. Finally, click Add Account.
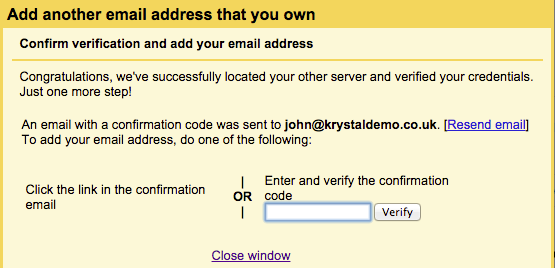
Log into your Krystal mailbox using alternative means (webmail is a good alternative) and obtain the verification code that Google have sent to you.Enter the verification code in the box provided, and click Verify - that's it!
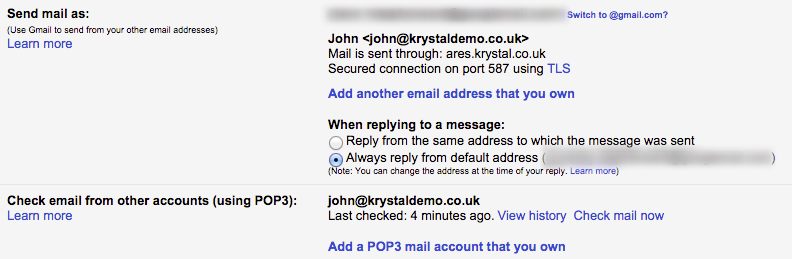
You should now see something like this in your Accounts and Import screen.